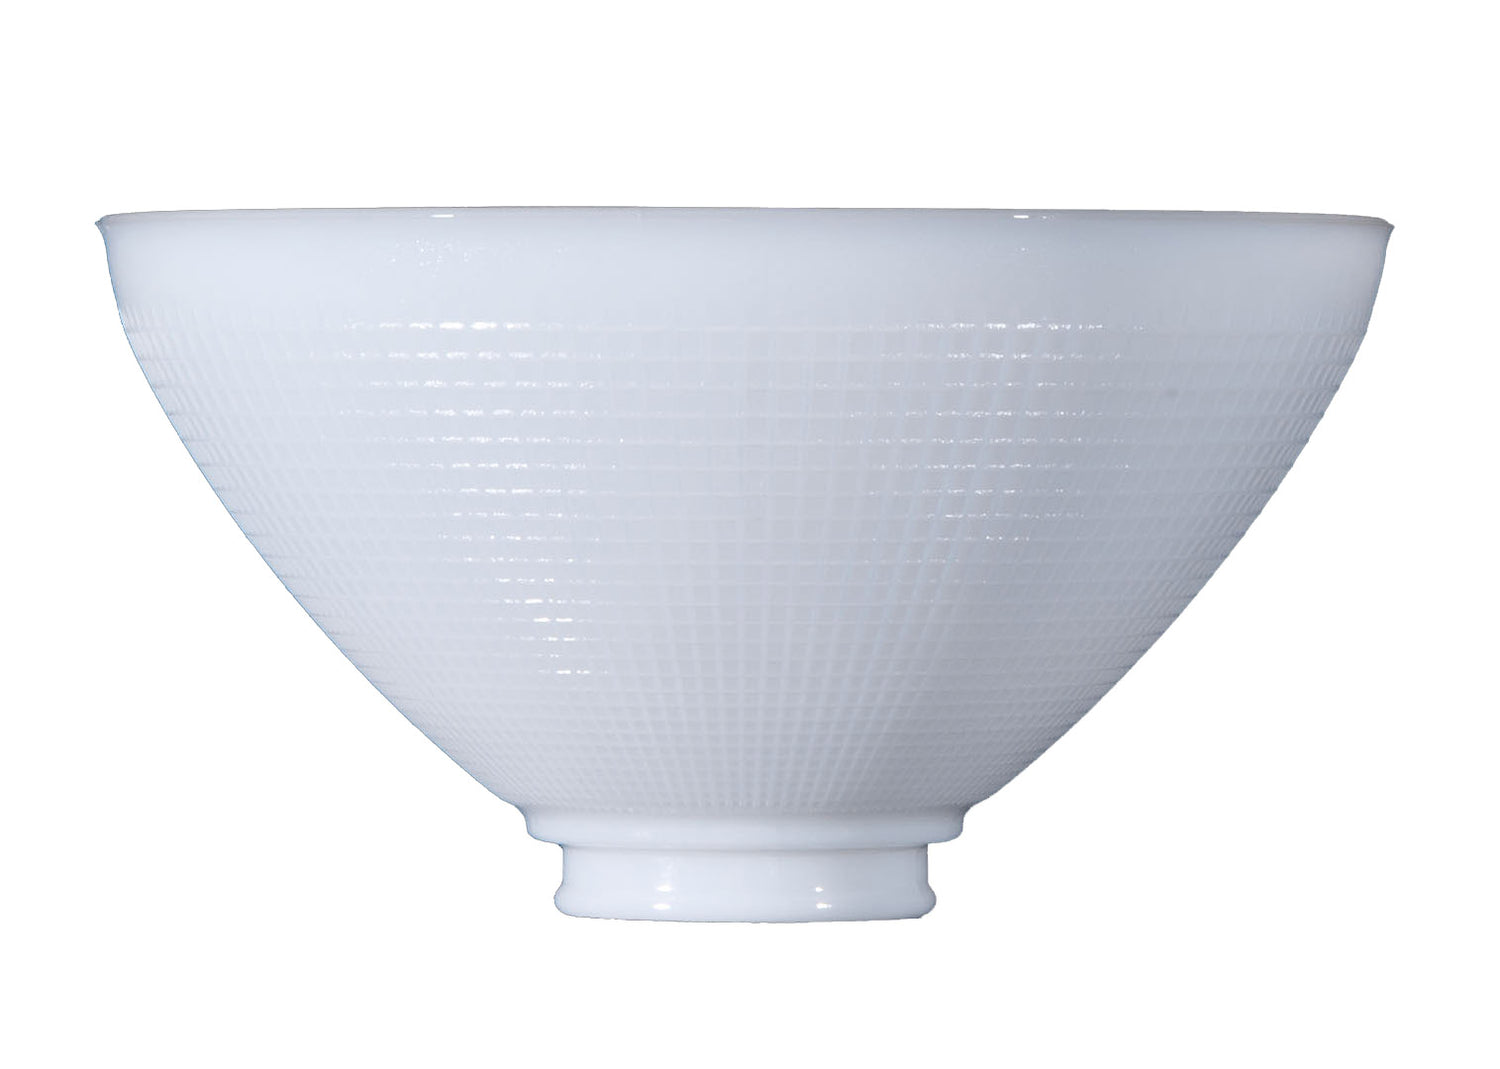
Like accessories and hemlines, lighting fixtures tend to go in and out of fashion. It can be difficult if not downright impossible to determine how lamp preferences change over time. Even though they change or fall out of favor, finding an antique lamp at auction or hanging from the ceiling of your foyer can be a delightful surprise. When it comes to buying vintage light fixtures – chandeliers, lanterns, pendants, and sconces – it can be rewarding to refurbish them on your own. From updating the hardware to reinventing a lampshade with a simple touch of paint, we explain how to refurbish an antique lamp in this easy-to-follow guide.
How to Refurbish an Antique Lamp
There are many ways to make an old lamp new again. In this guide, we explore all the ways you can breathe life back into your outdated lamp. Check out some of our top recommendations for lamp retrofitting, rewiring, and beyond.
Retrofitting: In “antique speak,” retrofitting is the process of adding new components or hardware to a lamp that weren’t implemented in the design to begin with. Retrofitting can also be used to describe the process of modernizing an old lamp, so that it can be used in the modern, electrified home. You can purchase a retrofit kit, but you can also avoid paying more than you need to by assembling a few important parts that will enhance the beauty and functionality of the old-fashioned lamp. Most retrofit kits come with brackets, fasteners, screws, and sockets to help you get started with the best foot forward. We also offer a wide selection of lamp accessories, including dimmer switches, oil lamp adapters, lamp cords, and so much more. A retrofit is much more cost-effective than a complete redesign. However, there are many ways to retrofit an antique lamp. Alternatively, you can rejuvenate the lamp base or shade with a coat of paint. You should choose a fabric paint if you are updating a lampshade. Spray paint is quick to dry, and a good option for the lamp base. Chalk paint is growing in popularity because it doesn’t require any sanding or priming on anything other than brass or ceramic surfaces.
Rewiring: You can update your lamp so that it meets the electrical requirements of your home by changing out the wires. Rewiring an old lamp is relatively simple and straightforward, as long as you have the right tools and a general understanding of electrical fixtures. You can purchase a lamp rewiring kit, which usually comes with a cord, plug, and socket. Press down on the socket sleeve with a screwdriver – most sleeves are labeled. Lift and remove the sleeve. Pull the socket up and remove the old wiring with a cutting tool. Unscrew any nuts found on the bottom of the lamp base. Pull the thread up to remove the old socket, and pull the cord from the bottom of the base to make room for the replacement cord. Attach the new socket, using wire cutters to split the wires by cutting along the groove. Cut off an inch of insulation and tie the cords together. Create strain relief to prevent the cable from being yanked and to reduce the risk of fire or electrocution by tying an Underwriter’s knot. The lamp rewiring kit you purchase may very well include illustrations to help you learn the proper technique. Loosen the screws on either side of the socket, and wrap the exposed wires around one of the screws. Tighten the screws to hold the wires in place, and slide the sleeve back onto the socket until it snaps into place. We also sell individual wire sets for specialty projects. Do not attempt to rewire the old lamp if you feel at all uncomfortable with minimal wiring alterations.
There’s no reason to let a good lamp go to waste when you can restore it to its former glory. We hope that this guide to refurbishing antique lamps is as informative as it is helpful. If you have any questions about this guide or would like expert assistance in choosing the best replacement parts for your old lamp, please contact Antique Lamp Supply today to receive additional information or further assistance from an experienced lighting specialist. We look forward to hearing from you and helping you restore your classic lamp with confidence.

